Poor water quality can harm patients, staff and equipment and the reputation of your practice.
Engineered for precision and versatility, these inserts help optimize scaling procedures while improving patient comfort.
We have the solutions you need to create a culture of safety, compliance, and efficiency at your office.
From hand scaling to orthodontics, surgical instruments, and more.
Help your patients relax so you can efficiently provide treatment.
Operatory supplies are the items you need to perfectly complement your setup.
Chairside efficiency is the key to a productive practice. What is IMS?
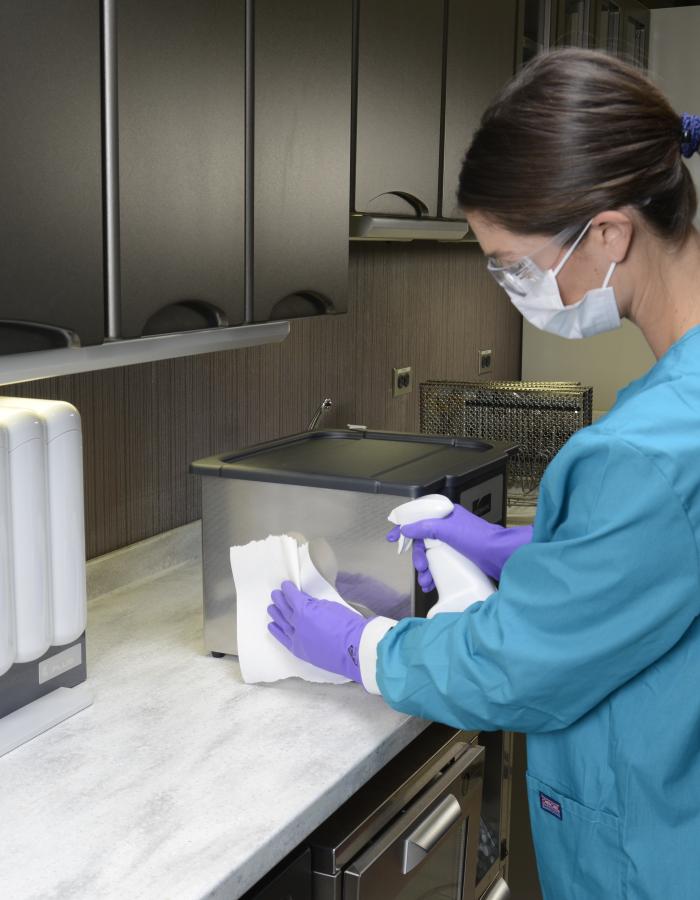
Infection prevention has never been more important in maintaining a safe and healthy practice environment.
Working smarter and being organized helps save time, money, and reduces stress
Hu-Friedy has a wide variety of resources on instrument reprocessing, infection prevention and IMS. Now you can find them in one place.